Best Beginner Watercolour Kit: Top Tips from an Art Teacher of 25 Years
If you’ve ever walked into an art supply store or scrolled online wanting to learn watercolour, you’ve probably felt that instant wave of overwhelm. Dozens of brush shapes, hundreds of pigment names and endless racks of paper, pads and blocks. Like what the heck is a block anyway?
Naturally, most beginners reach for an inexpensive 48-colour pan set and a pad of inexpensive student paper, thinking, “I’ll upgrade when I get better.”
In my 25 years of teaching watercolour workshops, I can tell you that this single decision is where most aspiring painters give up. It’s rarely your technique or lack of talent, it’s that cheap supplies can really impede your progress and take away the fun and wonder out of the learning experience, leaving you with the feeling that "watercolour is just not for me".
The secret to learning watercolour without frustration is simple: spend on paper, save on paint tubes, and keep your brushes minimal.
Here is the exact breakdown of how to build a quality, budget-friendly watercolour starter kit that will set you up for success from day one.
PAPER
#1 Paper is Paramount: Why Cotton is Non-Negotiable
If you only take one piece of advice from this entire guide, let it be this: Paper is the most critical supply in watercolour.
Beginners often buy (cellulose) student paper because it’s cheap.
I get it, if you don't know what you're doing, it makes sense that you will feel precious about your paper and not want to "waste" the good stuff....
Why Student-Grade Paper Is Holding You Back
Wood-pulp (cellulose) student paper behaves completely differently than cotton. Instead of absorbing the water evenly, paint tends to sit on top of the surface. This causes a few major headaches:
- Muddy layers: Colors lift too easily when you try to glaze, turning your beautiful second layer into mud.
- Disintegration: It pills after a few layers (peels and falls apart) or after any lifting or blotting - it gets tired and worn out and loses it's structure and integrity.
- Harsh edges: Water puddles quickly, leaving behind stubborn backruns and cauliflowers where you didn't want them.
- Zero working time: The paper dries patchy and fast, making smooth, seamless washes nearly impossible to achieve.
When you switch to 100% cotton rag paper, the fibers absorb moisture evenly. It stays wet longer, allows for beautiful soft gradients and tolerates wet-on-wet techniques like a dream.
So, get the best paper you can afford and, if "student quality" keeping you from levelling up your watercolour painting - you need to read THIS BLOG POST NEXT: budget-friendly $25 block that I now recommend to all students!
TIPS on PAPER selection
- What to look for: 100% Cotton (or RAG)
- Why it matters: Cotton fibres absorb water evenly, allow pigment to disperse softly without harsh lines, and give you working time before the wash dries.
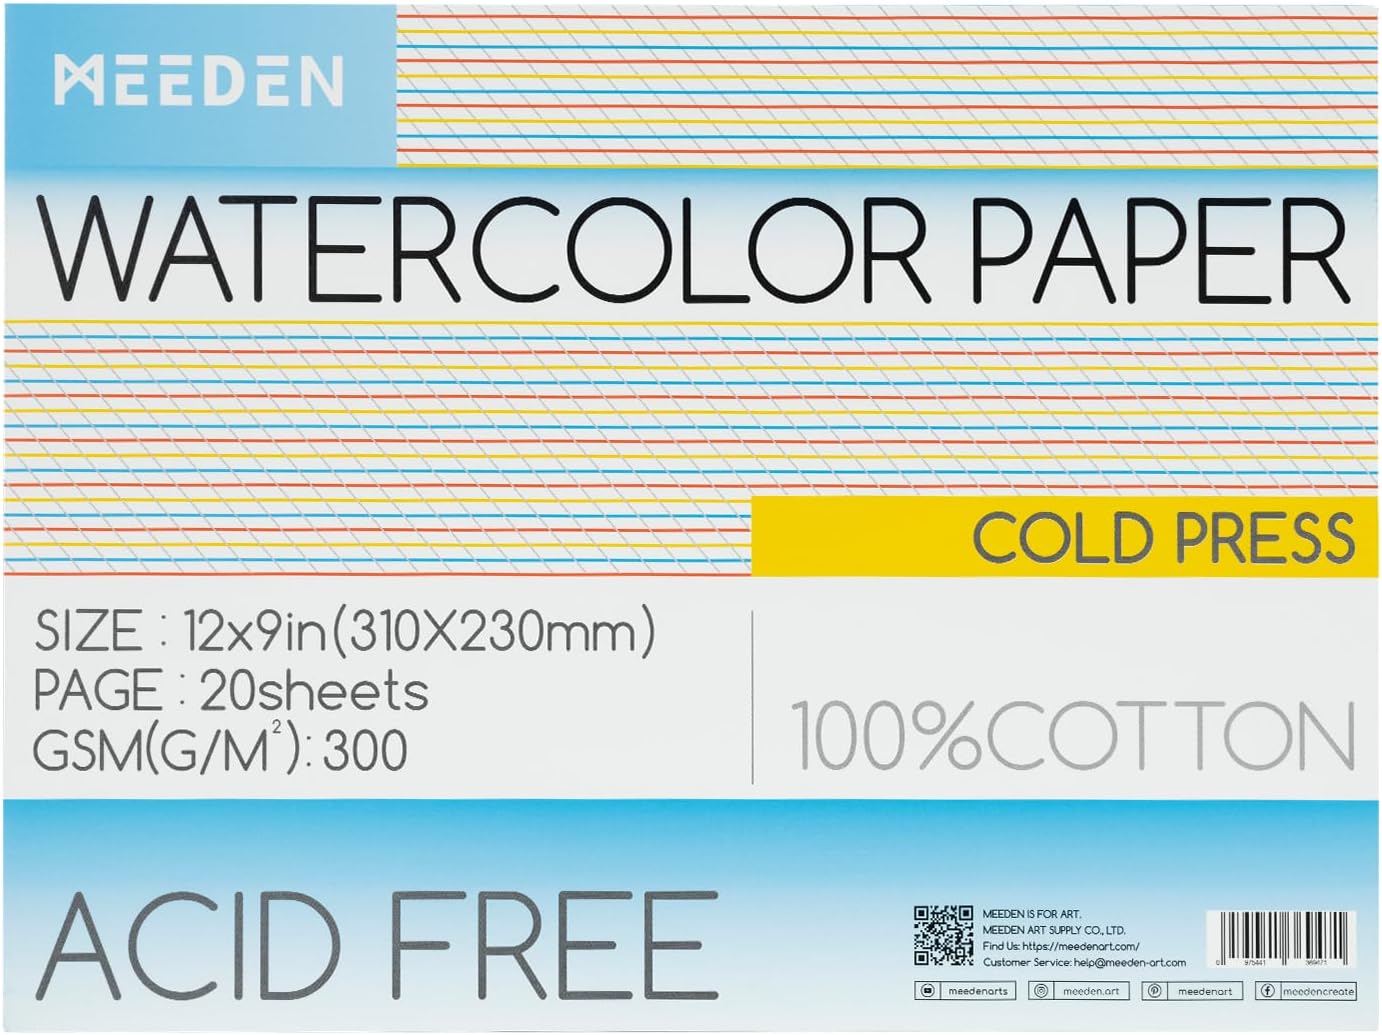
- Budget tip: Buy a small 140 lb cold-press block like this one (a block means you do not have to stretch), or purchase full sheets (22" x 30") and tear them down into quarter sheets using a ruler (taping or stretching is needed for loose sheets). You will learn more on three sheets of 100% cotton than on an entire pad of cellulose pulp.
- Artist quality paper is SIZED: so it allows the paint to float or stain properly - it is much more resilient and won't pill or fall apart when lifting and blotting.
- Weight: 140 lb (300 gsm) WHY? It will withstand multiple glazing, drying , re-wetting, blotting, lifting and scrubbing. ( 300lb is even better and won't buckle at all, but costs $25 per sheet!)
- Surface type : I like Cold-Press paper as it has a bit of character without being a dictator. If you get 100% cotton or rag cold pressed paper, you will see watercolour move and react and bleed and bledn the way it was intended.
Get THE PAPER
I recommend to ALL STUDENTS
(and that I NOW USE):
PAINT
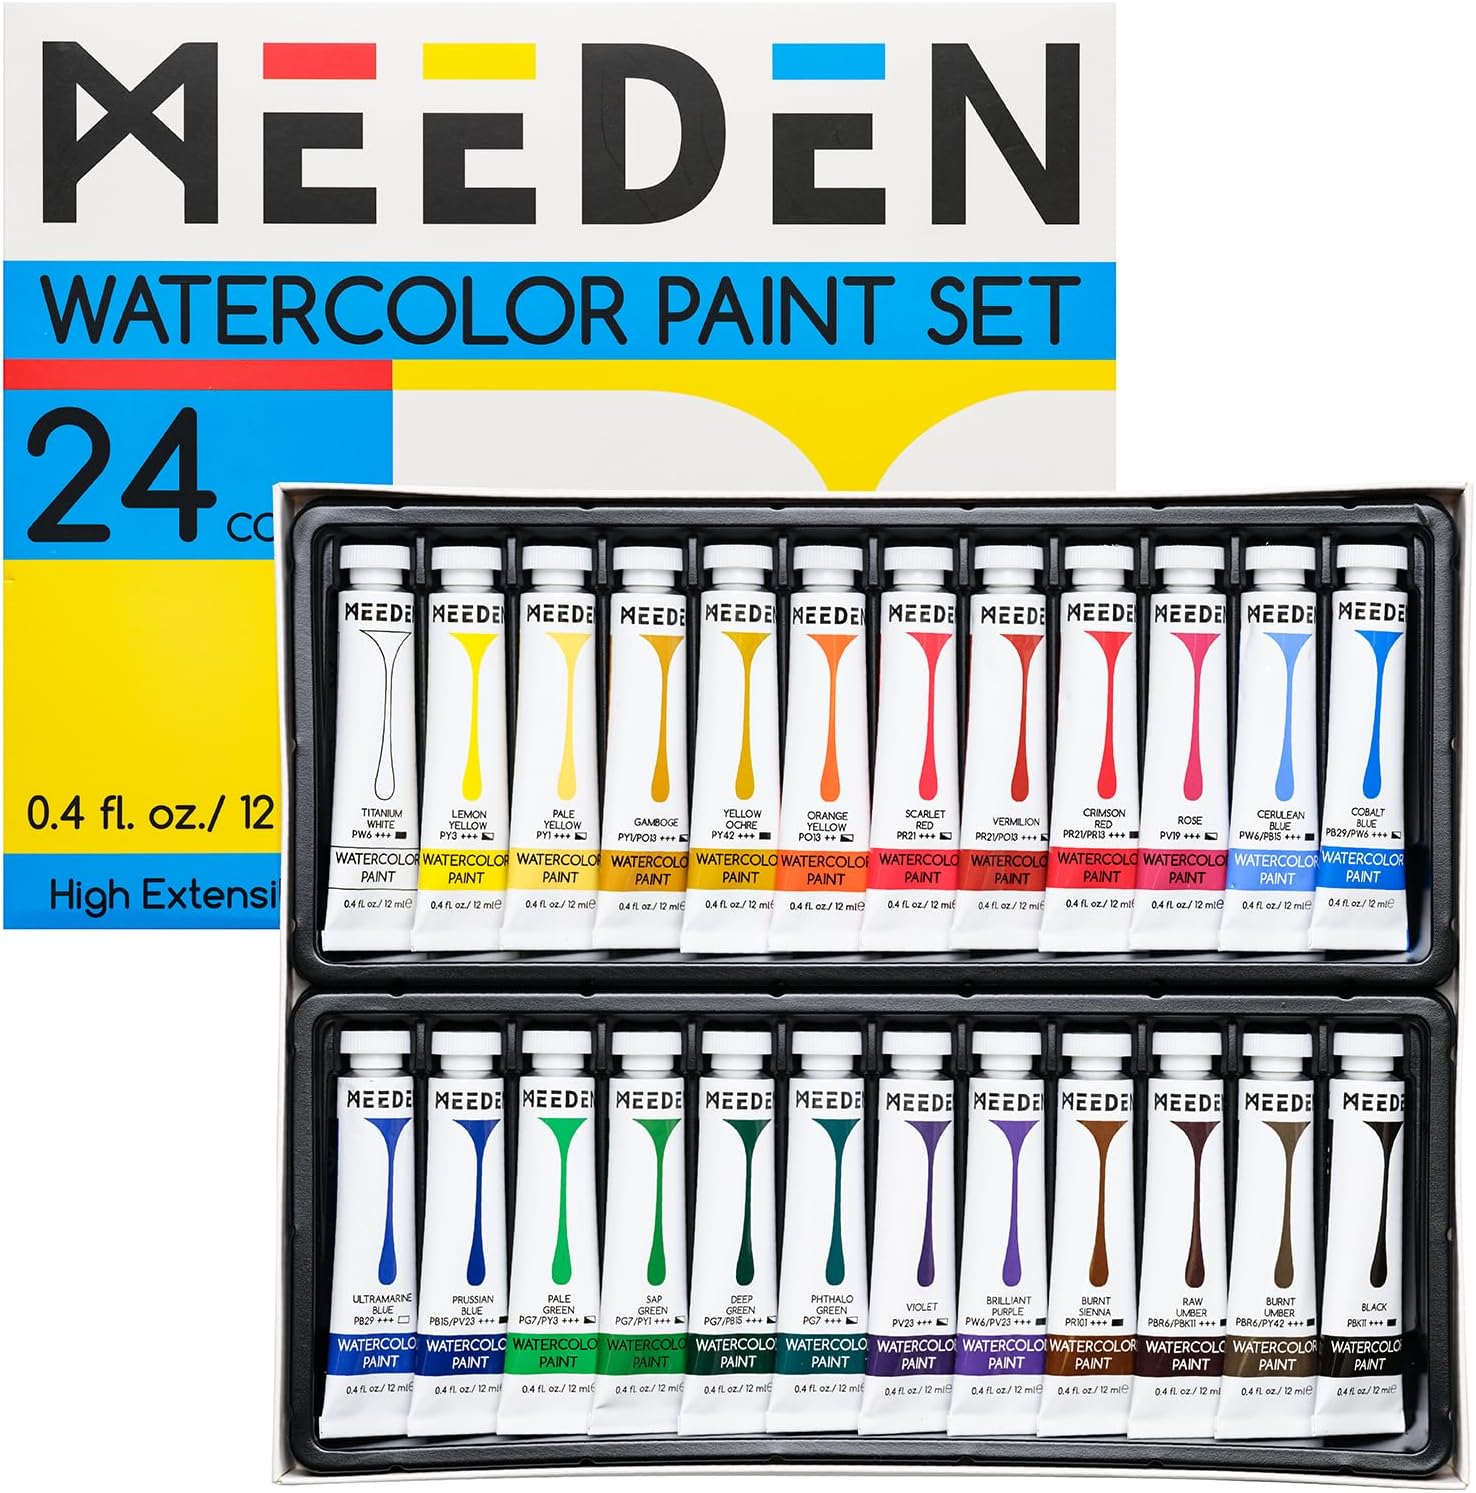
I recommend 12 colours normally (basically a warm and cool of each) I prefer working with transparent colours, but if you have the RIGHT paper you can learn so much from a very affordable set of paints. I always recommend TUBEs as you can control to richness, saturation and value more easily vs "pans" (those hard cake squares). Here is an excellent starter set that we use in all of my classes. This set has 24 colours and is less than $20
If you are curious about exactly what colours I use (and how to set up your palette) WATCH THIS:
Brushes:
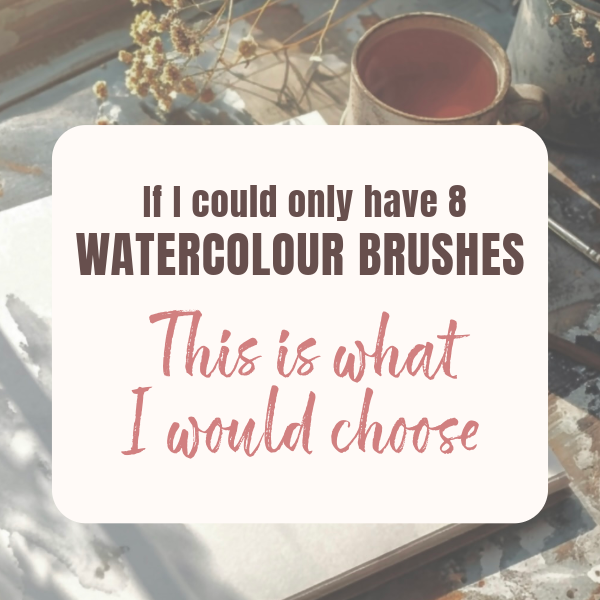
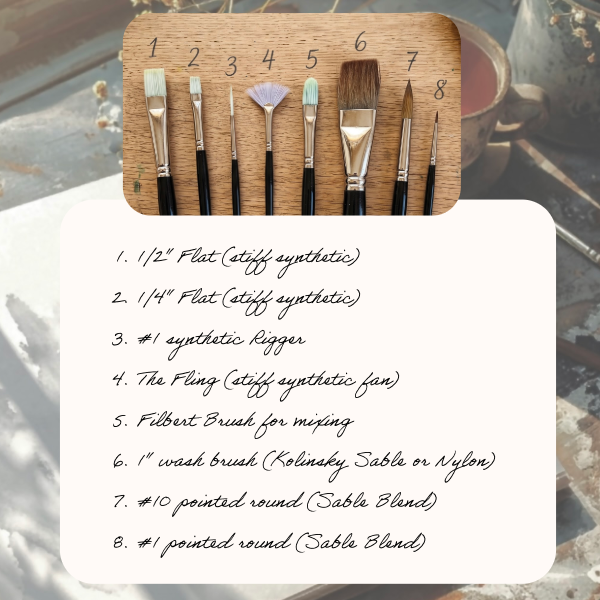
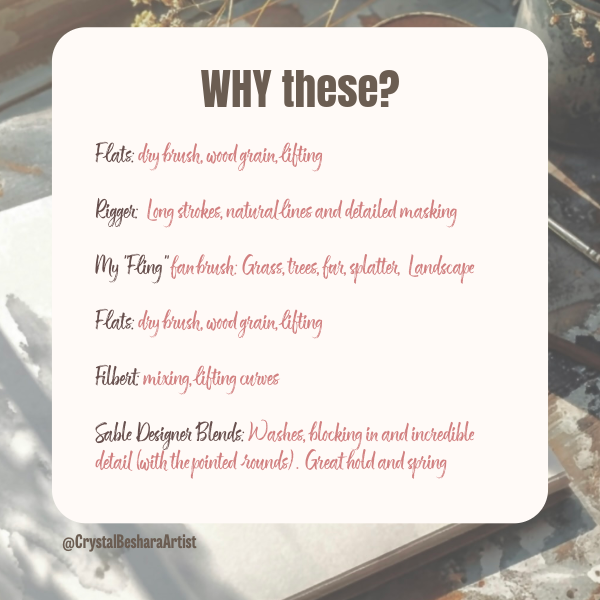
In an attempt to reduce overwhelm and to really get to know your tools I recommend no more than 8 brushes when starting out.
- 2 Pointed Rounds (#1, #3 and #),
- one or two flats (1/4" and 1/2")
- a good fan brush
- 1" wash brush,
- A synthetic rigger or liner (for long lines and masking)
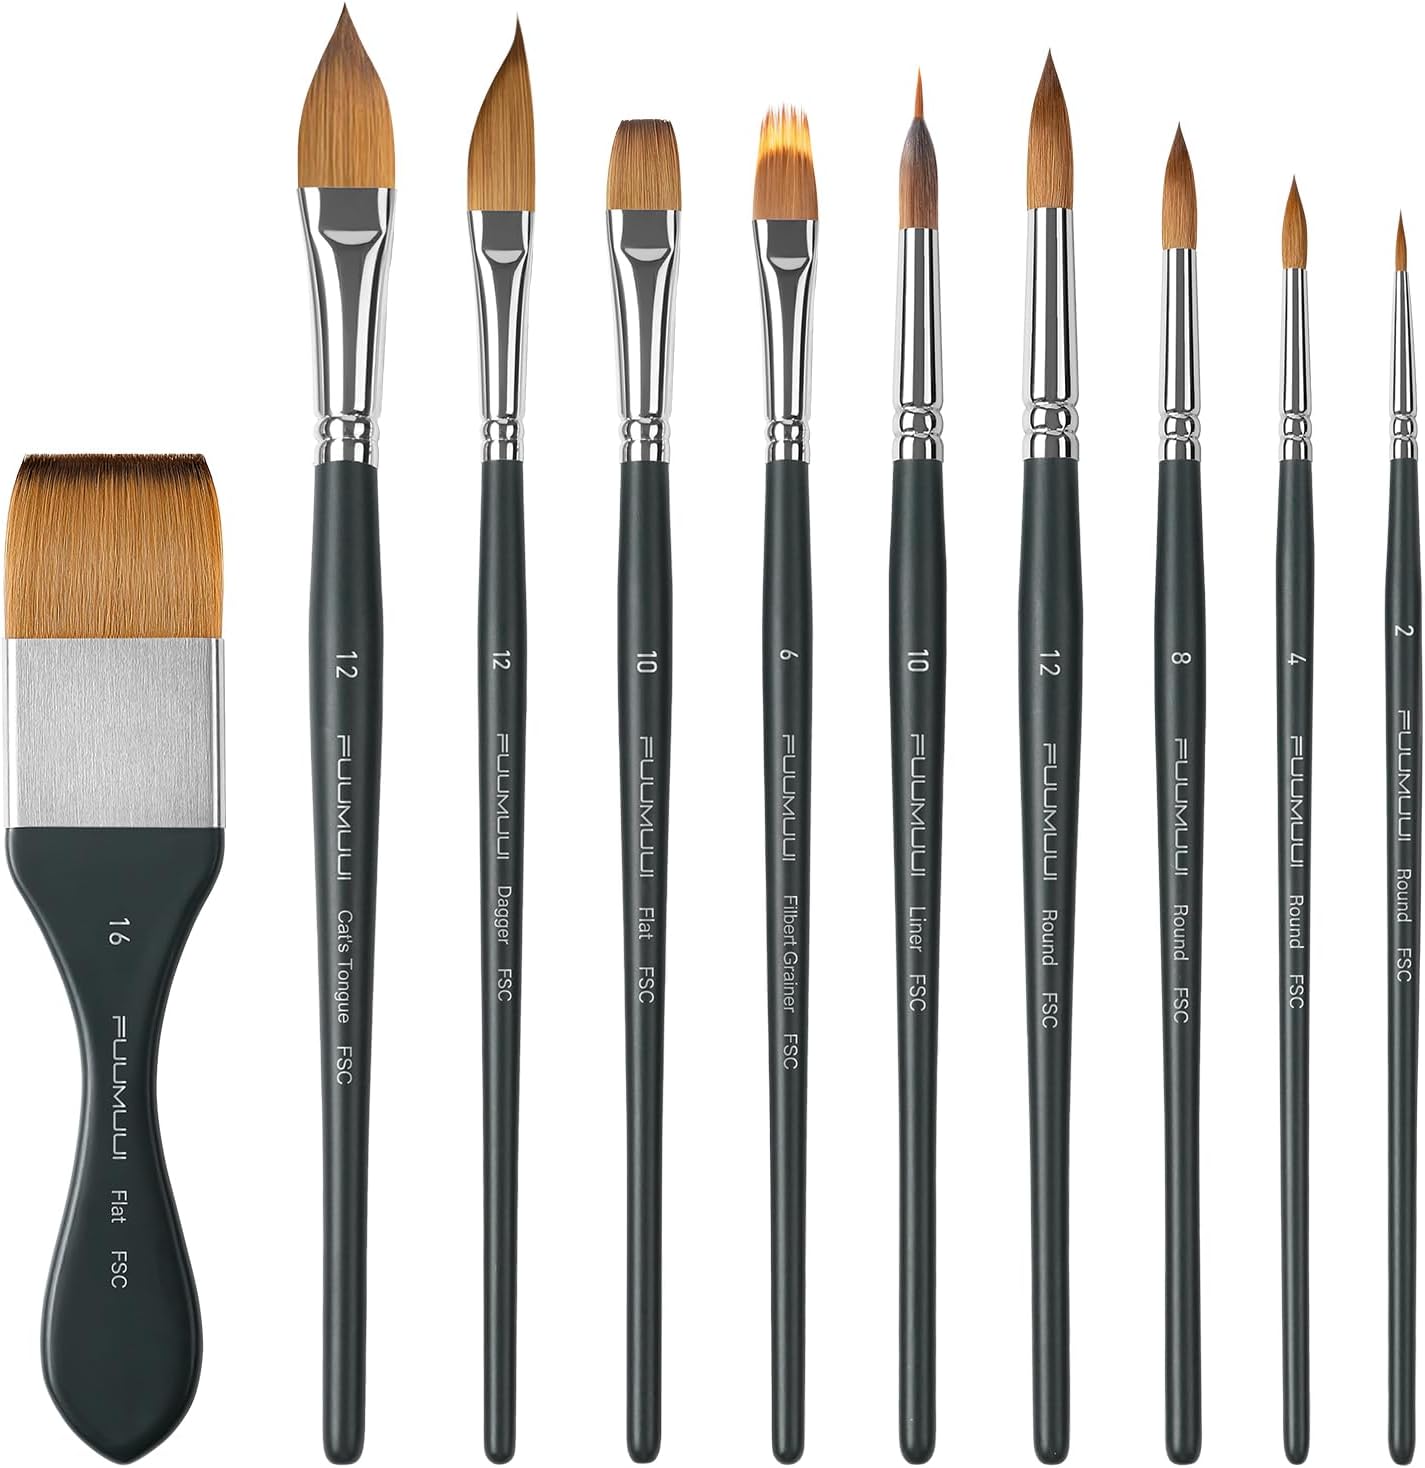
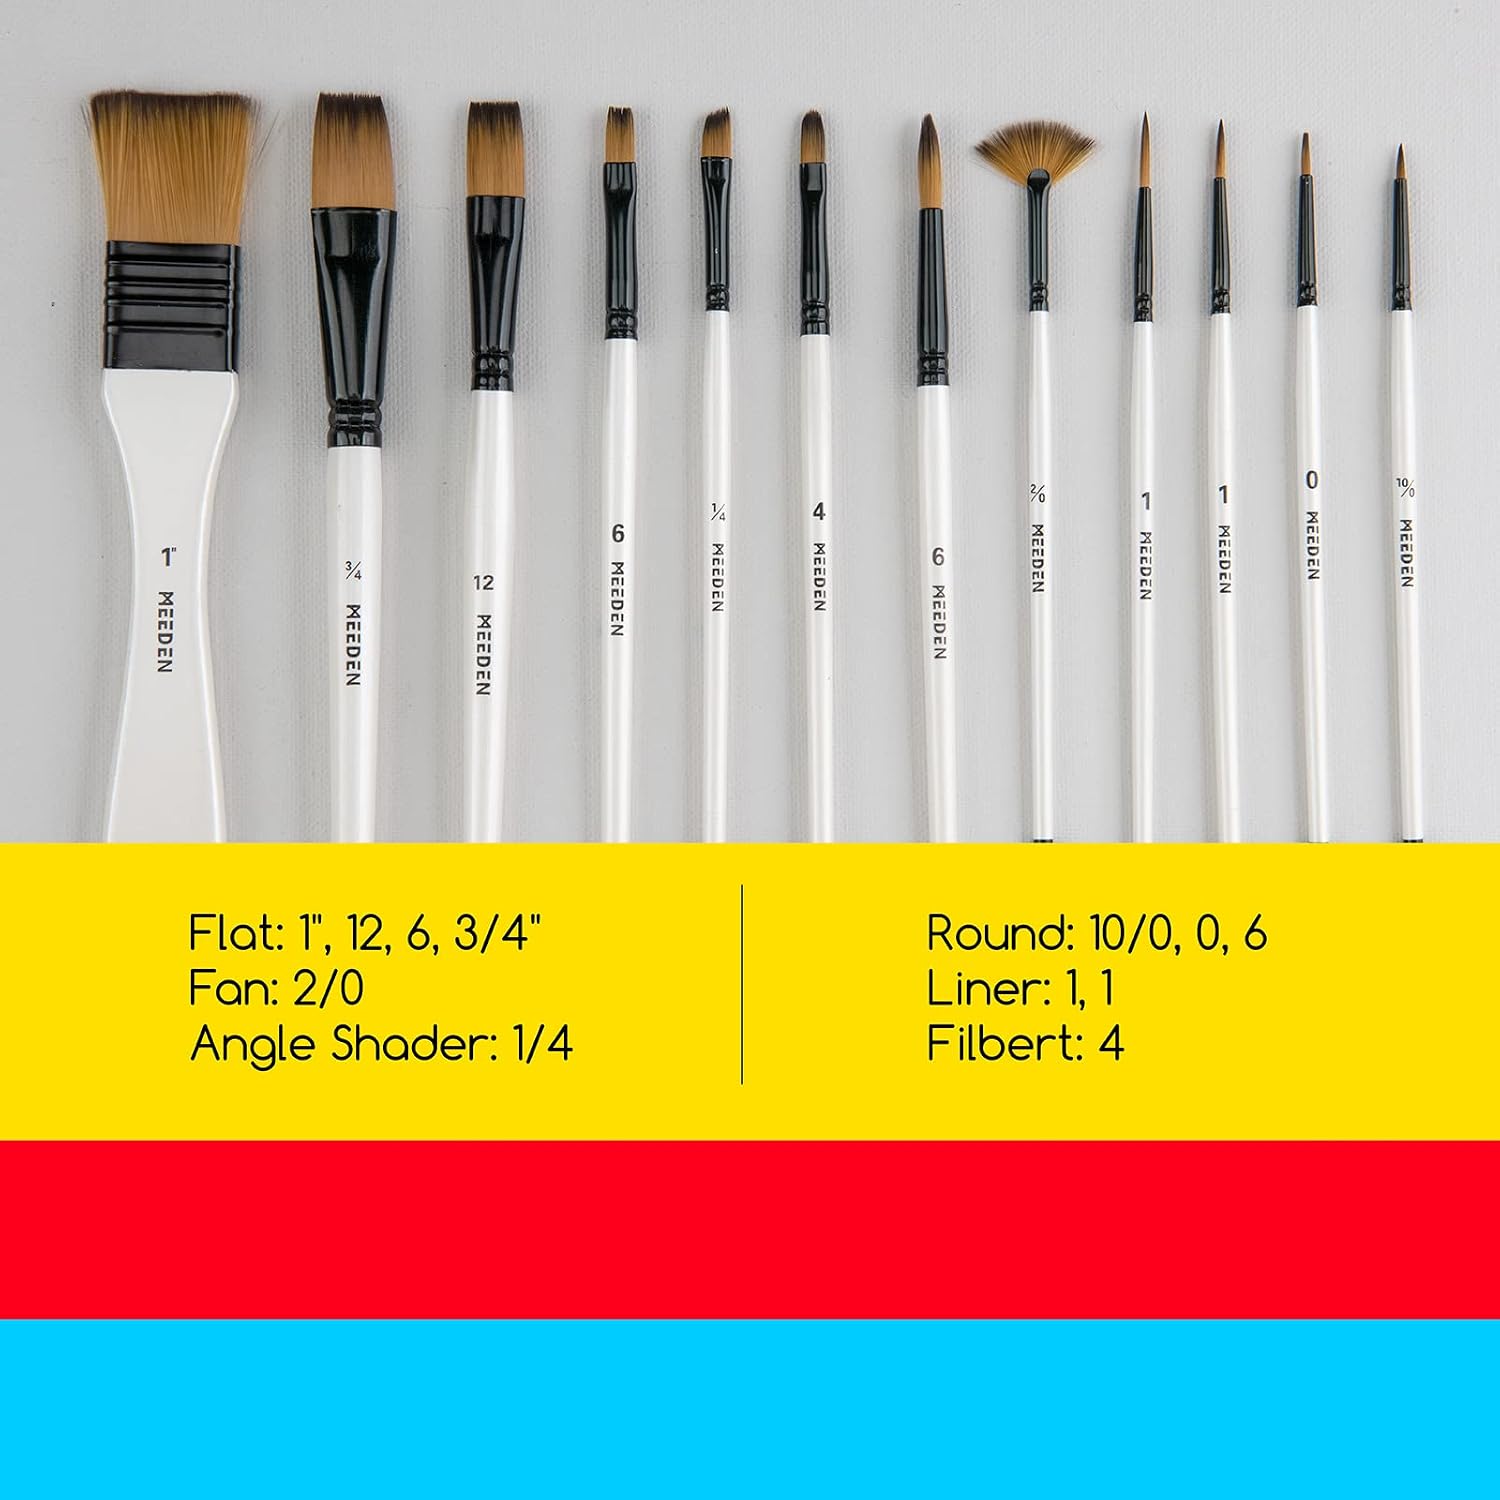
BELOW are TWO REALLY good starter sets : (click the images for product links to AMAZON) are very reasonably priced and won't shed.
Sometimes one is unavailable so I have listed an alternative:
If you are curious, here are the EXACT brushes I use! My line of PRO level brushes & my magic FLING (*fan brush) CLICK HERE
OTHER SUPPLIES
- 2 water containers / jars (one for rinsing, one for drawing clean water for mixing)
- Watercolor Palette with Lid: (perfect for travelling to art classes) 33 Wells Airtight Folding Paint Palette | Leakproof Palette
- OR my studio must-have (but a bit of a splurge) THIS ceramic palette (under $40)
- Masking Fluid (this one is my favourite!!!) and a Rubber Cement Eraser (pack to remove the masking fluid)
- Pencil set (2H, H, F, HB.) + 1 Kneaded Art Eraser + 1 Large Dust Free Eraser + 1 Faber Sharpener
- UNDER $40 Light table (if drawing is not your strong point). This one is BRIGHT, THIN and CHEAP!
- Paper towel or (even better) pack swedish dish cloths (save $ and dry fast)
- Masking tape (medium tack) like this (creates nice borders or use to tape or STRETCH your paper to a board)
- Support board (if not using a watercolour block) like this masonite
Set Up Your WATERCOLOUR WORK SPACE
Before you squeeze a single drop of paint, how you arrange your workspace matters just as much as what’s on your shopping list. Keeping a tidy, functional layout prevents accidental water spills, paint splatters, and moisture headaches.
Watch this quick breakdown on how I arrange my basic watercolour workspace:
A Note : I love sharing these resources to help you succeed!
Please note that the links below are affiliate links. This means if you click through and make a purchase, I may receive a small commission at no extra cost to you. This helps support my studio and allows me to keep creating free content for you. Thank you for your support!