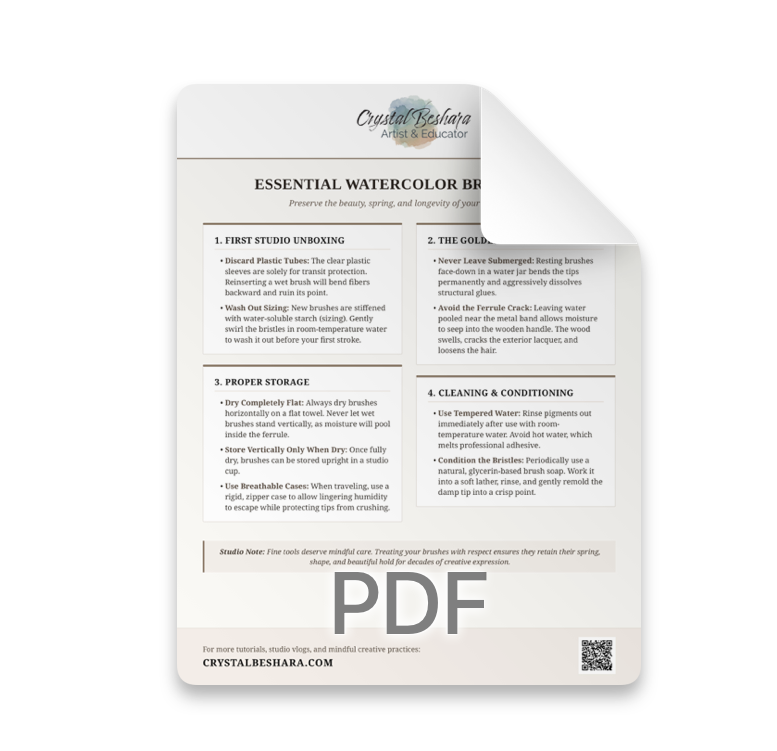
Brush Care for Paint Brushes
Why Your Watercolor Brushes Are Cracking (And How to Save Them)
Have you ever picked up your favorite watercolor brush only to notice the beautiful wooden handle is peeling, splitting, or completely cracked? It is a heartbreaking moment for any artist, but it is also an incredibly common mistake that is completely preventable.
After 25 years of teaching watercolor, I’ve seen hundreds of brushes meet an early grave for the exact same reason. In this blog, I break down the exact anatomy of brush damage and share my simple studio routine to keep your tools in pristine condition for years.
Here is what you need to know to protect your investment and keep your bristles beautiful.
The Silent Killer: Water in the Ferrule
The number one culprit behind a cracked brush handle isn't the quality of the brush—it’s trapped water.
When you leave your brushes resting face-down in a water jar, or store them standing upright while they are still soaking wet, gravity takes over. Water seeps underneath the metal ferrule (the metal band holding the hairs) and gets absorbed by the wooden handle underneath.
Because wood is porous, it bloats when wet and shrinks when dry. This constant expanding and contracting quickly splits the outer lacquer, cracks the paint, and eventually dissolves the internal glue holding your brush hairs together.
How to Clean & Dry Properly:
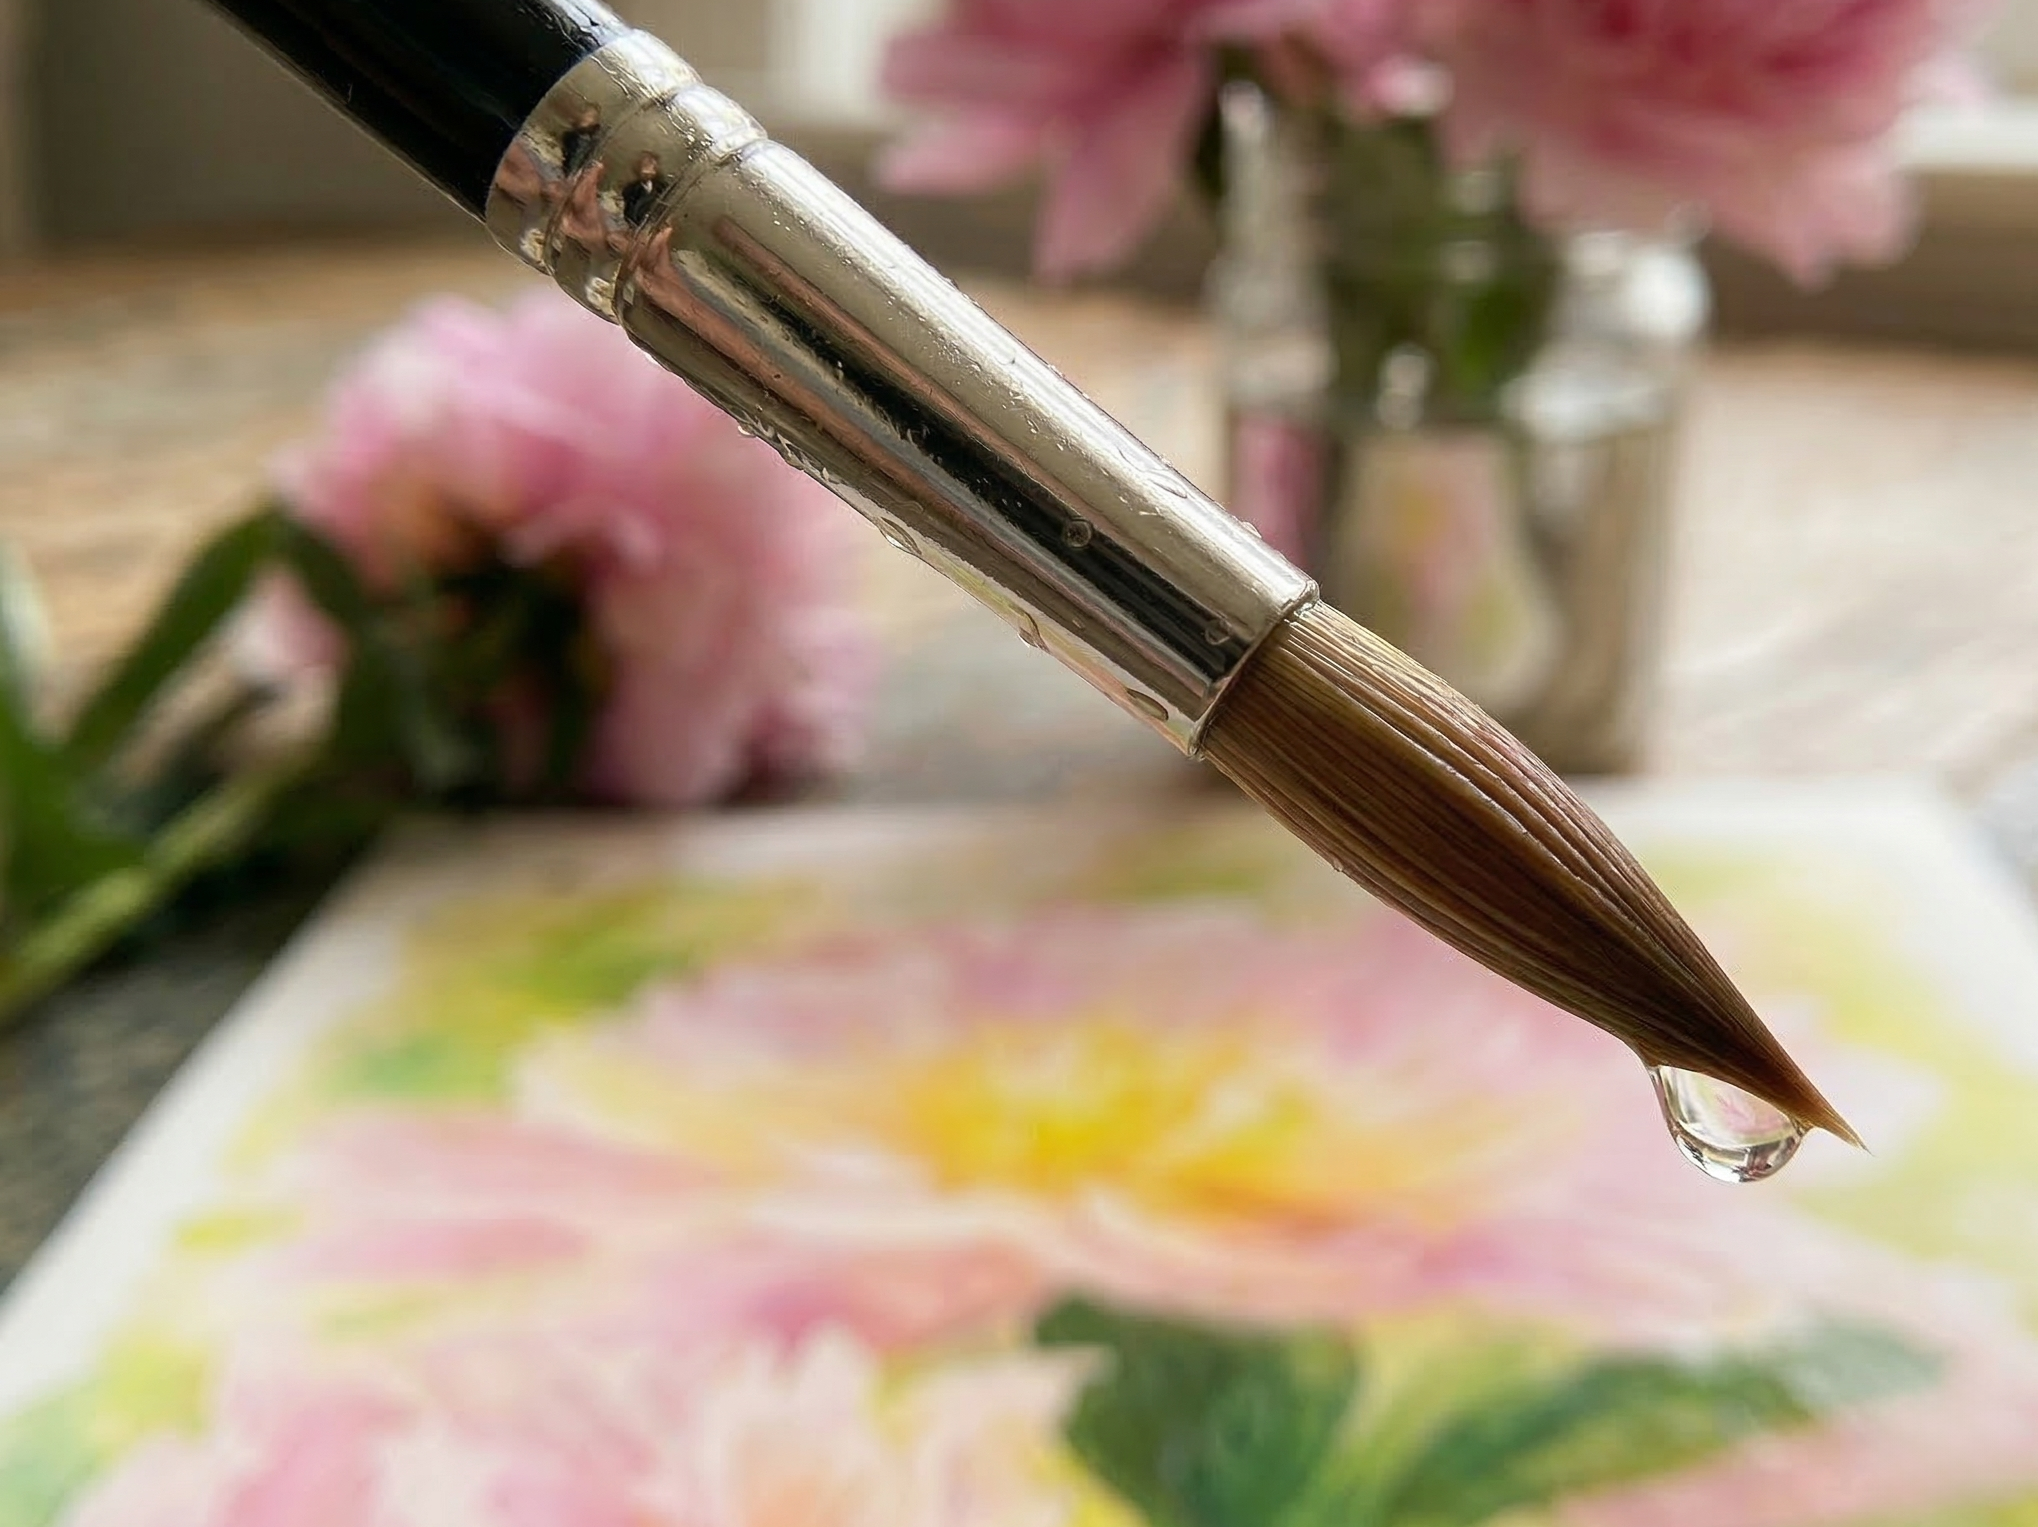
- Wash with Tempered Water: You don’t need harsh chemicals or boiling water. Simply rinse your brushes thoroughly in room-temperature water immediately after your painting session so pigment doesn’t stain or compromise the fibers.
- Reshape the Tip: Gently squeeze out the excess water. If you want to extra-condition natural bristles, you can use a touch of glycerin-based brush soap to mold the hairs back into a sharp, perfect point.
- Dry Flat or use a brush rest: Never store a soaking-wet brush vertically in a cup. Lay them flat on a towel until they are completely dry.
Here are two BRUSH LIFE-SAVING items under $20
• Swedish Dishcloths [ https://amzn.to/4cIaHBO ]
• Ceramic Brush Rests [ https://amzn.to/4mGP7C8 ]
(SCROLL DOWN for MORE BRUSH-SAVING TIPS & MY CARE SHEET!)
Ditch the Plastic Shipping Tubes
When you buy a brand-new, high-end brush, it often arrives with a clear plastic sleeve over the bristles. Throw it away as soon as you get home! These tubes are solely designed to protect the brush during shipping and store display. If you try to slide a damp brush back into that tiny plastic sleeve later on, you run a massive risk of catching and bending the hairs backward, permanently ruining the shape.
Studio Storage vs. Traveling Securely
Once your brushes are completely dry, storing them upright in your studio is perfectly fine. But what happens when you want to paint en plein air or travel to a workshop?
Many artists turn to traditional bamboo roll-up mats. However, over decades of teaching, I’ve watched countless students have expensive brushes slide right out of the top of those rolls and drop onto the pavement.
Instead, look for a rigid, zippered brush case. A structured case protects the delicate tips from bending under pressure, the individual slots keep your pens and brushes organized, and the zipper ensures nothing slips out on the go. Plus, because fabric zippered cases aren't completely airtight, any residual humidity can safely escape, preventing mold and mildew.
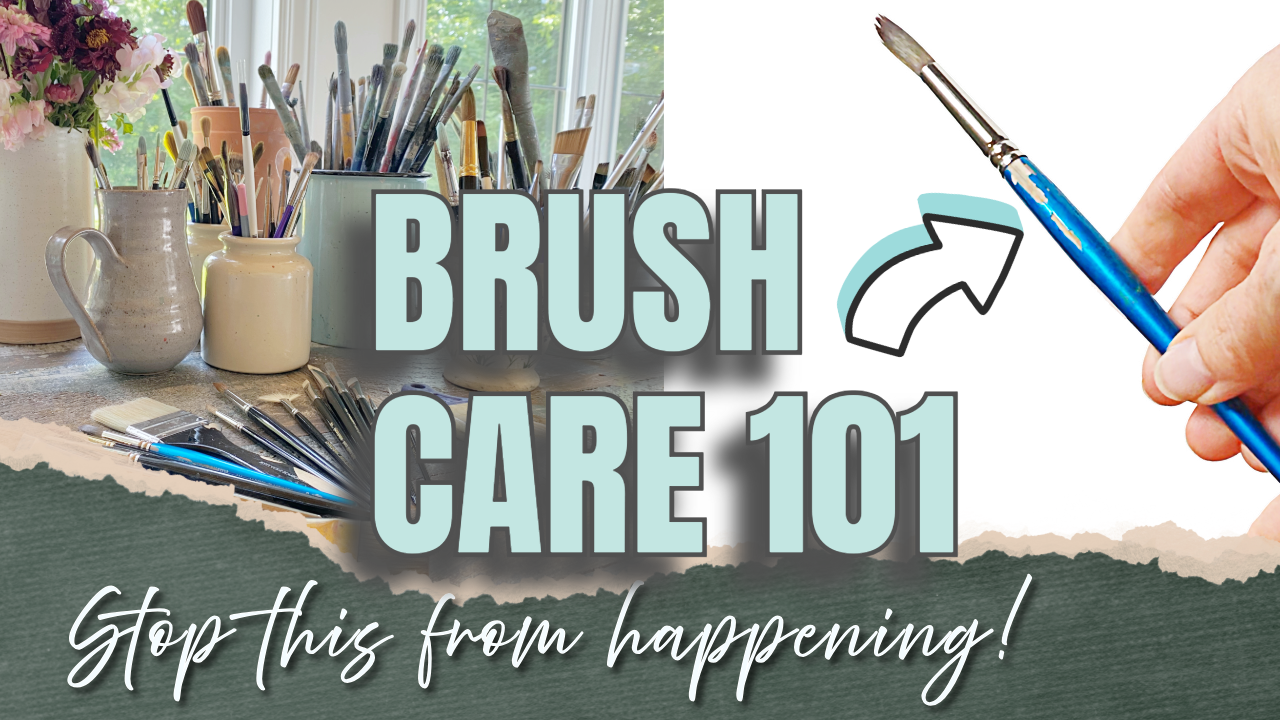
Want to see these tips in action?
Watch the full 5-minute breakdown over on the channel: Watch the Tutorial Here and learn how to treat your tools with the respect they deserve!