SAVE money on framing HOW to use a POINT DRIVER TOOL
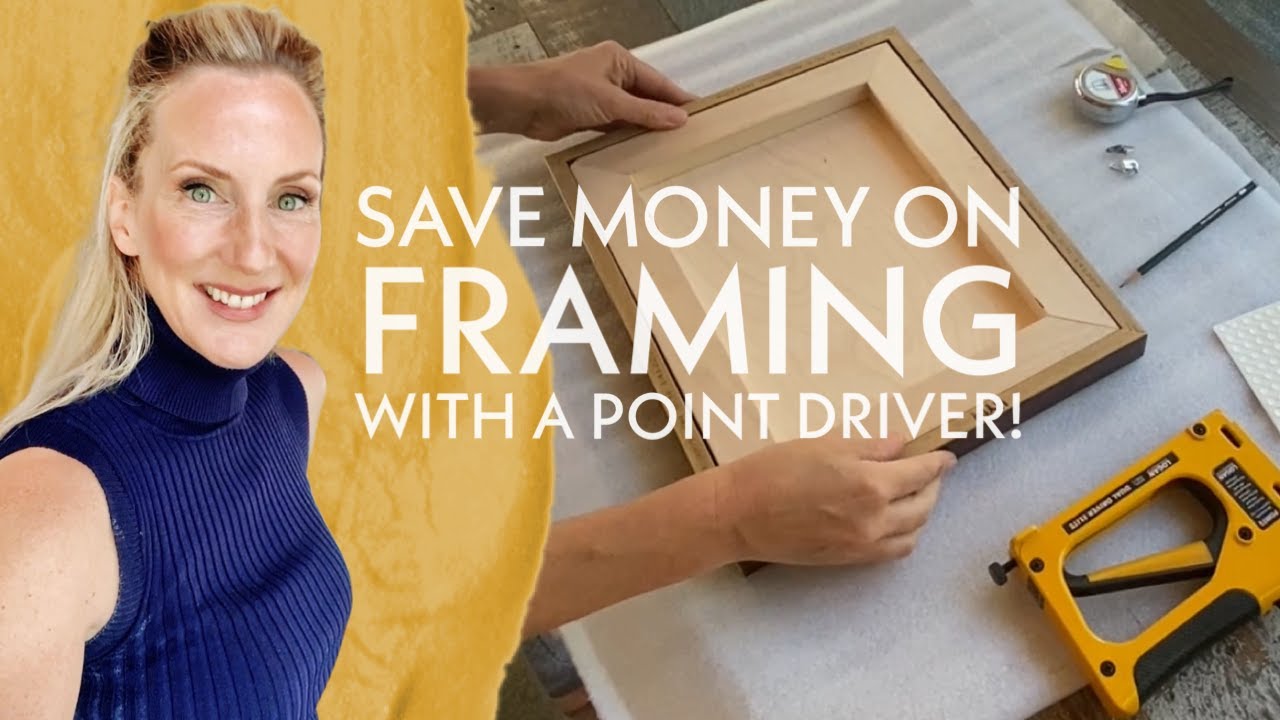
SAVE MONEY on framing your artwork with a Point Driver!
In this video I will be demonstrating how to frame a painting using a wooden frame a and a point gun driver. For the $100.00 investment, this has been a huge time saver and it has saved me a ton of money on framing. Plus, while it may sound loud & scary it is REALLY safe, easy to use and super fun to use!
This has opened up a world of possibilities for me because now I can go to HOmesense, Winners, michaels or even second hand stores and grab exiting framed prints or artwork, remove the paintings, and replace them with my own!
You can use this method for works on canvas, wood panel, linen panel and even works on paper that require glass and backing. Functioning exactly like a heavy-duty stapler, a POINT DRIVER or TAB GUN / DRIVER drives flexible points into wooden or mdf frames to hold the glass, backing and artwork securely in position.
Points are driven parallel to the backing leaving aprox 1/8” space, just enough to hold securely without causing damage. In this video I will be using Flex points. Once inserted, these pins can be bent back, allowing you to change the artwork. That said, This method also works well for mounting work permanently ( which I will be demonstrating).
* PLEASE NOTE: I use this method usually if I am hanging a show, or want a quick method of framing. If you want this to be 100% archival quality, I would suggest bringing it to a framer, otherwise, you will be investing quite a lot in archival materials. Particularly important when framing paper artwork. The image needs to be hung using acid free tape on acid free 100% backing board and then matted with 100% acid free mat board. The glass (UV Museum, if you can afford it) is then put on top and the edges sealed with acid free tape.
TOOLS:
- LOGAN Dual Point Driver Elite: https://amzn.to/3QrN6bq
- Flexible Points: https://amzn.to/3KYS7ac
- Coated picture wire: https://amzn.to/3BqGjud
- D rings: https://amzn.to/3ezHuyC
- Clear bumpers https://amzn.to/3TOsGw9
- Brown Kraft Tape ( I AM ADDICTED to this stuff!) https://amzn.to/4eqafu5
- Pliers
- Hammer
- Nail
- Short screws
- Measuring tape
- Pencil
- Foam or thick / soft fabric to protect picture frame from impact
I have even used wooden frames containing commercial prints, tossed the prints out and voila, have been easily able to re-use the frame without having to bring it to the framer each time. This method only works if the contents of your frame (the glass, mat, artwork and backing) lie below the wooden frame edge. About 1/8” down from edge of rabbet.
This will keep dust and unwelcome critters from making their home in the tiny open spaces between your backing and frame. Apply the tape so it covers approximately half an inch of the frame, and as much or more of the backing. Press firmly to ensure a good seal. Each side should overlap the other, perpendicular side t o achieve a neat, straight seam all the way around. If you have received rubber or felt bumpers, attach them to the bottom corners of the frame after taping.
Key steps demonstrated in the video include:
Setting up the Point Driver: (2:11-2:37) Learn how to load the flexible points into the gun and adjust the tension dial based on the hardness of your frame material.
Securing the Artwork: (2:42-3:21) Place your artwork into the frame and use the point driver to secure it. Ideally, the artwork should sit about 1/8" below the surface of the frame rabbet, and the gun should be held parallel to the frame.
Installing D-Rings and Wire: (3:32-3:51, 4:33-5:14) Use a nail to create a starter hole for your D-rings to prevent the drill from slipping. Position the D-rings about 1/3 of the way down from the top for proper balance, ensuring screws are secure but not long enough to puncture the artwork.
Finishing Touches: (3:55-4:18, 5:57-6:11) Apply brown craft tape to the back of the frame to keep out dust and debris, and attach clear bumpers to the bottom corners to protect your walls and keep the piece balanced.
If you are an artist displaying your work at an art fair - you're goign to want to check out this SLEEK budget friendly set up (click the image below)