Photographing your artwork for prints
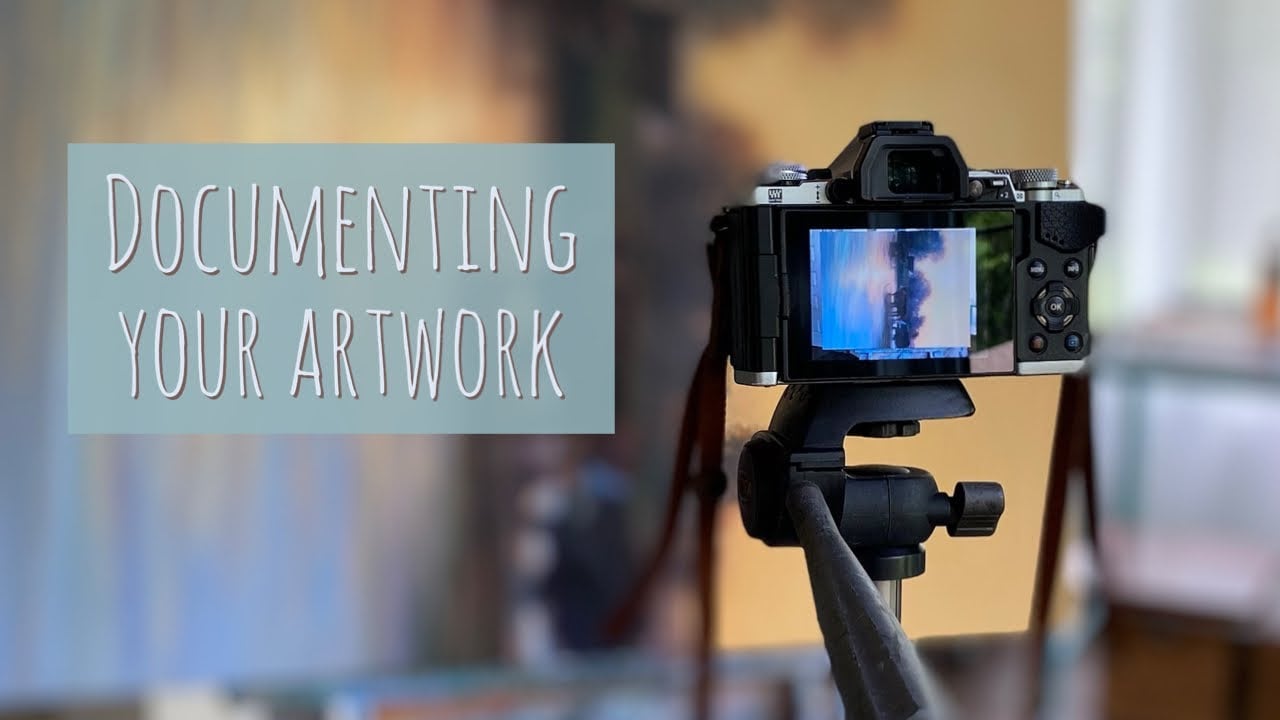
How to Document Your Artwork Like a Pro with a digital camera (scroll down for phone settings)
Capturing clear, high-resolution photographs of your artwork is essential—whether you’re selling prints, building your online portfolio, or submitting work for exhibitions. However, issues like glare from varnishes/glass, lens distortion, and blurry focus can quickly ruin a shot.
Here is a step-by-step walkthrough of the exact setup and camera settings I use to get crisp, print-ready photos of my paintings every time.
1. Perfect the Lighting Environment
- Choose an overcast day: Direct sunlight or heavy indoor studio lights create harsh reflections and hot spots, especially on varnished oil paintings or pieces under glass. Shooting outdoors or near windows on a cloudy day gives you soft, diffused light
2. Eliminate Distortion & Camera Shake
- Shoot in landscape mode: Even if your artwork is vertically oriented, turning your camera to a horizontal/landscape layout helps avoid the lens distortion that often happens in vertical alignment
- Use a stable tripod: Mount your camera on a tripod and adjust the legs until your canvas is perfectly square and centered in your viewfinder This eliminates handheld shake and keeps perspective lines clean.
3. Dial In Your Manual Settings
Automatic camera settings won't deliver the grain-free clarity required for high-resolution reproduction. Switch your camera to Program (P) or Manual mode to control the following
- Keep ISO as low as possible: A lower ISO (e.g., 100 or 200) ensures the finest grain and maximum image detail
- Set your Aperture (f-stop) between f/7 and f/10: Shooting around f/9 strikes the sweet spot for sharpness across the entire canvas
- Focus manually through the viewfinder: Instead of relying on the LCD screen or auto-focus, look directly through the optical viewfinder and use the manual focus ring to lock in sharp texture details
4. For Indoor Studio Setups
- 45-Degree Dual-Lighting (For Indoor Studio Setups)
When natural overcast light isn't an option, artificial lights should be placed at 45-degree angles relative to the artwork on both the left and right sides.- Point the left light at the far right edge of the canvas and the right light at the far left edge (cross-lighting).
- This feathered pattern neutralizes shadows, balances texture, and prevents hot spots in the center of the piece.
While JPEG files compress colors, shooting in RAW format preserves all uncompressed image data captured by your sensor. This gives you maximum dynamic range to adjust highlights, deep shadow details, and subtle color nuances in editing software without degrading file quality.
5. For Fine Art Giclée Prints:
Export uncompressed TIFF or high-quality JPEG files at 300 DPI matching the actual physical output size (e.g., 3000 x 4000 pixels for a 10" x 14" print).
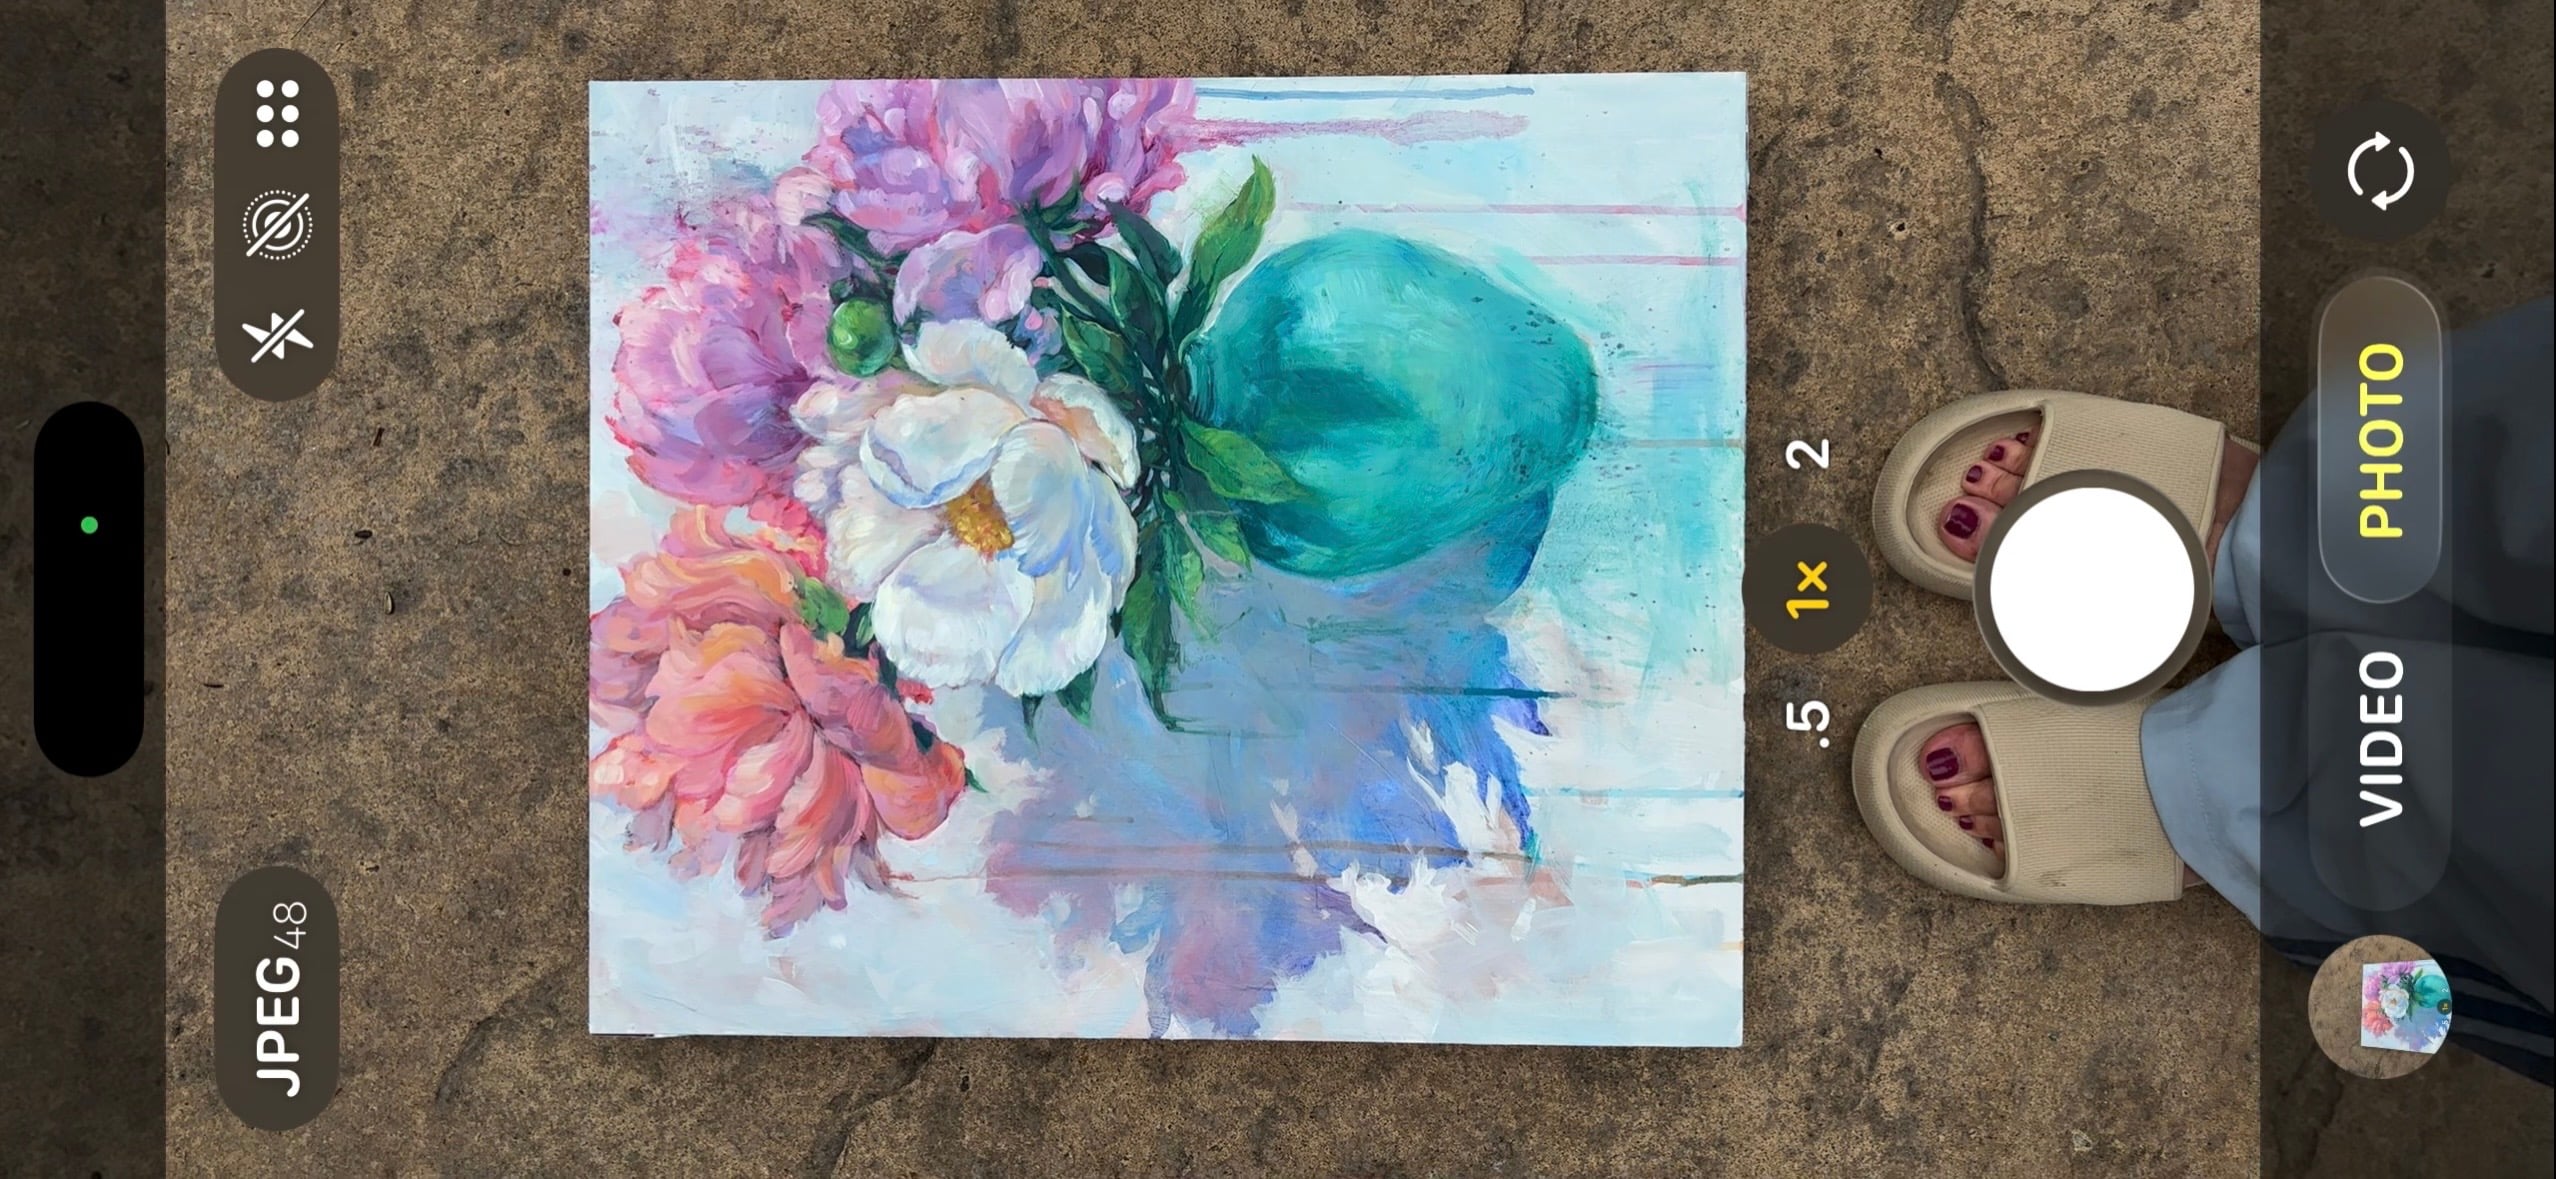
Here are clear, accurate recommendations for using smartphones to photograph artwork—including ideal settings, phone generations, and the exact max print sizes you can expect at 300 DPI.
1. Recommended Settings for iPhone (Overcast Day Studio Setup)
To get the highest detail without massive raw files, artists should adjust these specific iOS settings:
- File Format & Resolution Settings:
- Go to Settings > Camera > Formats.
- Turn on ProRAW & Resolution Control (or Resolution Control on standard models).
- Set the Pro Default or Resolution Control to JPEG Max (up to 48 MP) or HEIF Max. This forces the camera to capture full 48-megapixel files (~10 MB each) instead of auto-downscaling to standard 12 MP or 24 MP.
- Go to Settings > Camera > Formats.
- Camera App Execution:
- Open the Camera app and make sure JPEG MAX or HEIF MAX appears in the top corner and is not crossed out.
- Crucial: Always stay at 1x zoom. Pinching to zoom or switching lenses drops the sensor back down to 12 MP.
- Turn off Live Photos (Live Photos forces a lower 12 MP or 24 MP capture).
- Open the Camera app and make sure JPEG MAX or HEIF MAX appears in the top corner and is not crossed out.
Best Smart Phones for Artwork Documentation
Apple iPhone
- Best Choice: iPhone 15 series or iPhone 16 series (Base, Plus, Pro, or Pro Max) or iPhone 14 Pro / 14 Pro Max.
- Why: These generations feature the 48 MP main Quad-Bayer sensor. Previous models (iPhone 13 and below, or standard iPhone 14) are capped at a 12 MP maximum resolution.
- Why: These generations feature the 48 MP main Quad-Bayer sensor. Previous models (iPhone 13 and below, or standard iPhone 14) are capped at a 12 MP maximum resolution.
Android
- Best Choice: Google Pixel 8 Pro / Pixel 9 Pro series or Samsung Galaxy S23 Ultra / S24 Ultra / S25 Ultra.
- Why: The flagship Pixel Pro models feature 50 MP sensors, while Samsung’s Ultra series features 200 MP sensors. In their camera settings, artists should switch from the default binned mode (12 MP) to 50 MP mode or 200 MP mode (under image ratio/resolution settings) when shooting artwork.
- Why: The flagship Pixel Pro models feature 50 MP sensors, while Samsung’s Ultra series features 200 MP sensors. In their camera settings, artists should switch from the default binned mode (12 MP) to 50 MP mode or 200 MP mode (under image ratio/resolution settings) when shooting artwork.
3. Largest Print Size at 300 DPI (From Software Conversion)
When artists convert or export high-resolution iPhone captures to 300 DPI for giclée printing, the maximum print dimension depends on the pixel count captured by the sensor:
A. Full 48 Megapixel Capture (JPEG Max / HEIF Max / ProRAW)
- Pixel Dimensions: ~8000 x 6000 pixels
- At 300 DPI (Native, No AI Upscaling): 20" x 26.6" (roughly 20" x 26")
- Note: At 300 DPI, a 48 MP capture gives an exceptionally sharp, archival-quality print up to 20" x 26" without any artificial pixel stretching or interpolation.
B. Standard 24 Megapixel Capture (iPhone 15 Default Mode)
- Pixel Dimensions: ~5712 x 4284 pixels
- At 300 DPI: 14.2" x 19" (roughly 14" x 18")
C. Standard 12 Megapixel Capture (iPhone 14 and Older)
- Pixel Dimensions: ~4032 x 3024 pixels
- At 300 DPI: 10.1" x 13.4" (roughly 10" x 13")
| Capture Mode | Pixel Count | Max Print Size @ 300 DPI | Ideal Use Case |
| 12 MP (Older iPhones / Standard Android) | 4032 x 3024 px | 10" x 13" | Social Media, Website, Small Art Cards |
| 24 MP (iPhone 15/16 Default) | 5712 x 4284 px | 14" x 18" | Medium Fine Art Prints & Catalogs |
| 48 MP (JPEG Max / ProRAW) | 8000 x 6000 px | 20" x 26" | Large Fine Art Reproduction Prints |